Story by Jani Holder /
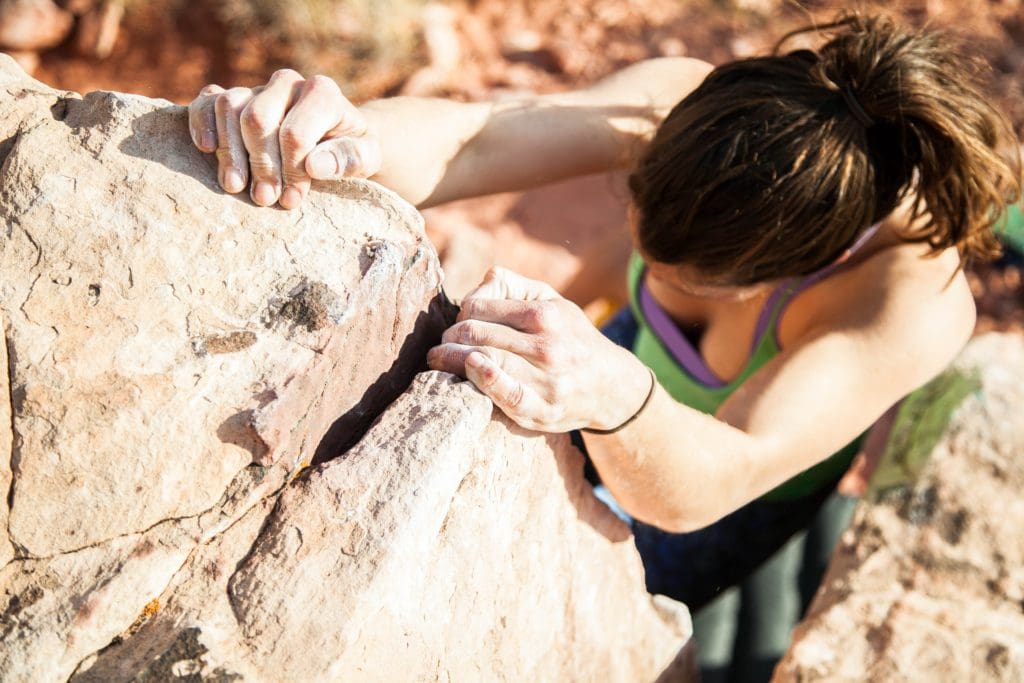
As climbers, we put our hands through the wringer whether we’re climbing on plastic or rock. If you like cracks, crimps, or any other types of climbing, your skin has worked hard to toughen up and withstand abuse… so doesn’t it deserve a little help?
We all know and love various skin repair products, but when you’re training hard, it seems like keeping your skin intact can become expensive. I took on the challenge to see if I could create a hand balm that I liked just as well as one of the products you’d find at an outdoor retailer. So much more goes into this process than I expected, but it was also a lot of fun.
Personally, I like the hard balms that are a more solid consistency that I can rub onto affected areas, so I went with more of a bar-like recipe. As I was researching, I learned that I didn’t have to make a decision because I could adjust the recipe to be harder or softer as my preference dictated. The recipe I chose was one of the simplest I could find for two reasons: first, I am in no way a DIY expert, and second, I’m trying to keep it cheap.
Basically, it calls for:
1 part beeswax
1 part shea butter
A few drops Vitamin E
A few drops essential oils of choice
And that’s IT.

I made sets of tea tree, cedarwood, and lavender.
The process: First, melt the shea butter and beeswax. I did this by flaking the ingredients into a glass measuring cup and hanging it on the side of a pot of boiling water—the alternative to a real double boiler. Add the oils, stir, and pour into your container of choice to cool. Once they’ve solidified, you’re done! While simple, it does take a while and it does make a big mess. Be prepared to spend a lot of time cleaning up your kitchen after this, and remember, putting wax down your drain isn’t a great idea.
My cuticles get so dry and sore that this stuff is always with me, and it’s even more necessary in the winter due to the added harshness of the cold weather. This recipe ended up being hard enough that I needed to throw the container in my pocket for a bit to soften before use if it was cold outside. If I did this again, I’d probably use slightly less beeswax and bump up the shea butter content so that it ends up a little softer. This consistency is hardest to use when it’s cold, which is when my hands need it the most. However, I like that you can dislodge the block from its container and rub it directly onto your hand instead of using a finger to dip some lotion out of a jar. It also works great for summer climbing, as even when it sat in the sun in my pack it softened but never oozed out onto the rest of my gear.

Bead jars from the craft store—just the right size!
I’ve also used this balm on my dog’s paws when they’re sore and it definitely helped rejuvenate them. All adventure dogs know that a weekend of backpacking or crag doggin’ can be hard on the pads, so definitely hook your best friend up with a little TLC—just be careful that you choose a dog-friendly essential oil if you’re going to do this. I learned after making mine that tea tree oil (one of my favorites) can be harmful for dogs and had to trade it out for one of the cedarwood-scented bars we made.

My pup actually gets excited for this—he says it’s way better than nail trims.
Cost Breakdown:
I was able to get everything I needed at the local health food and craft stores. You can generally find any of the ingredients online (possibly for a better price) but when the urge to DIY hit me, I knew it wouldn’t last long so I didn’t want to wait for shipping.
Beeswax: $4 for 8oz
Shea Butter: $5 for 7oz
Vitamin E: $2 for 4oz (but $0 for me since I already had it)
Essential oils: honestly, as much as you want to spend—you can get anything from super cheap scented oil to therapeutic grade organic oil that can get pretty pricey. But, again, $0 for me since I already have them.
Containers: $5 for 12
I used these little balms as stocking stuffers (which was a huge hit) so I wanted cute containers and that did raise my cost. If I was doing this just for myself, I could probably upcycle an empty mint tin or something like that.
Total for me: $16. Not bad, but it could be closer to $25 if you don’t have some of these ingredients on hand. The trouble I ran into is that you usually have to buy way more of each product than you’ll use for a batch. I would estimate each block I made was about 1oz, and I ended up with 12. I definitely have enough of all of the ingredients for at least another round of these and all of those materials are currently sitting in a drawer in my gear room without a purpose.

Just the right amount left over for a second batch.
Conclusion:
In my opinion, it’s worth it to make your hand balm yourself if one of these things apply:
- You’re making a bunch at once for gifts (like I did).
- You and a bunch of climber buddies want to go in on it together.
- You have very sensitive skin or want to create a custom scent.
- You are really looking to kill some time on a rainy day.
If I did this again, I’d try a slightly softer bar by putting in more shea butter compared to the beeswax amount of beeswax so that it’s easier to use in the winter. I’d also try some different essential oils—I think a peppermint version would be really soothing (and festive for the holidays).
Unfortunately, it doesn’t seem worth it if you just want one balm for yourself. Luckily, almost every outdoor retailer carries something similar to soothe your bedraggled hands, and I’d say that it’s totally worth it as this kind of balm seems to work miracles. Your hands do a lot for you, so take care of them one way or another.